JBuilder Foundation Installation
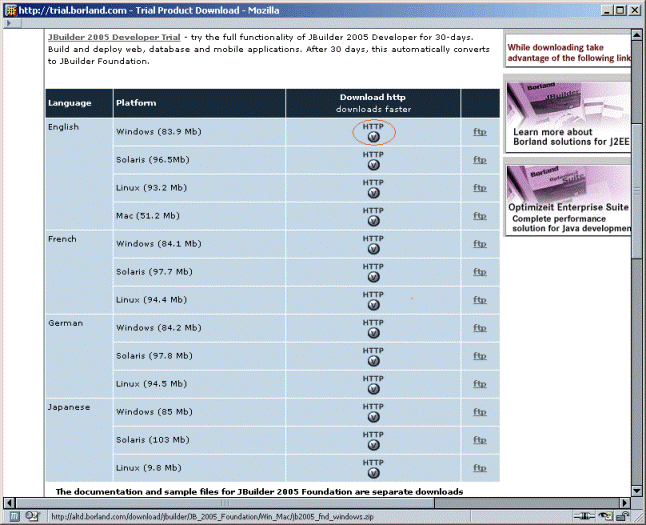
Go to the Downloads section in the Borland website, and choose to download the JBuilder Foundation. After registering, a page like in the picture below will be shown. Download the Windows installation. Borland's download manager should make the download very fast.
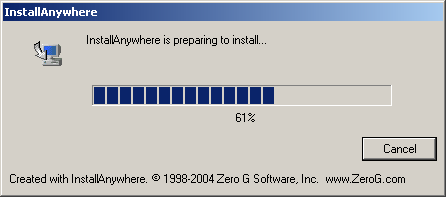
After uncompressing the zip archive, start the installation program
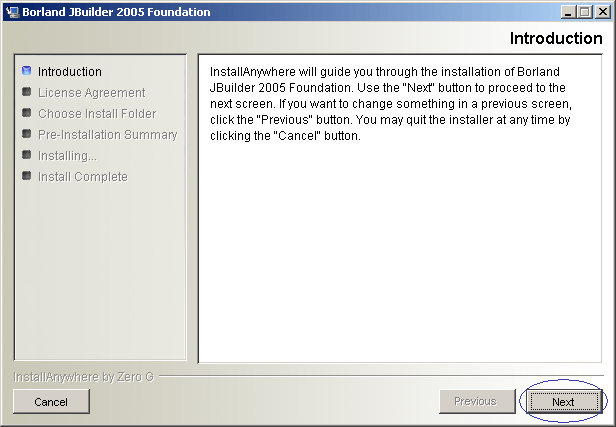
Click Next to start the installation.
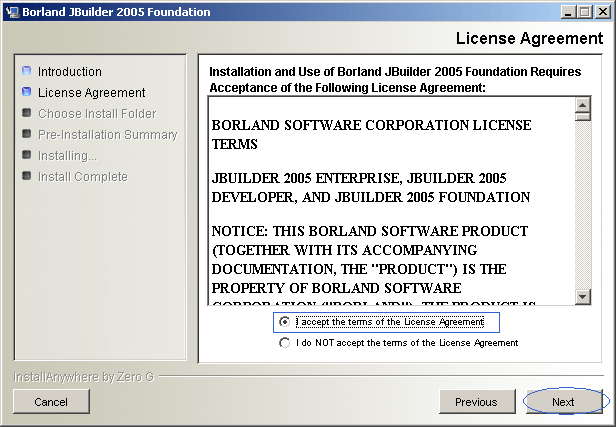
Accept the License Agreement and click Next to proceed.
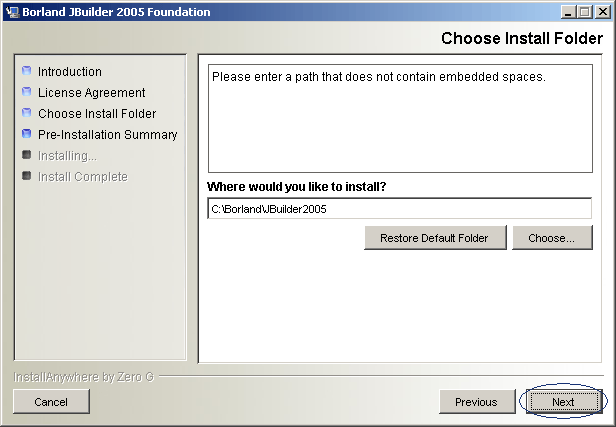
If necessary, change the installation folder. Otherwise, click Next.
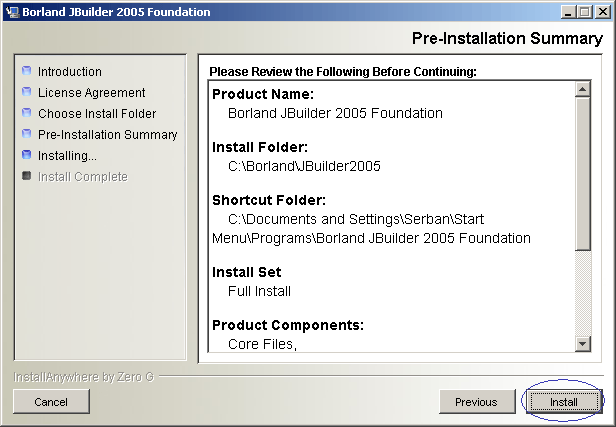
Click Install to start the installation.
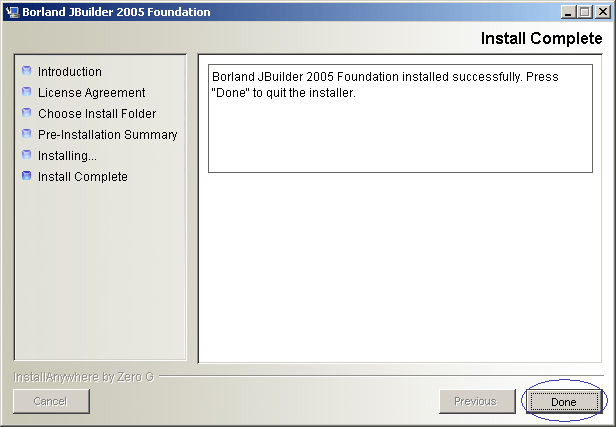
After the installation is finished, press Done to complete
There is a little configuring to do next. Start JBuilder by clicking the Start button, going to the Programs group, from here to the Borland JBuilder's program group and finally clicking on the Borland JBuilder 2005 Foundation. Click OK to accept the file associations and Close to close the Features list. If JBuilder does not start (the splash screen might appear shortly, after which nothing happens, please see the troubleshooting section for the solution).
)
After all the pop-ups have been closed, JBuilder should look like this:
)
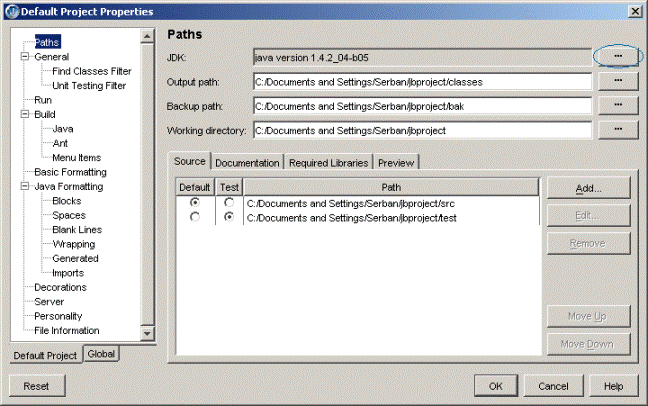
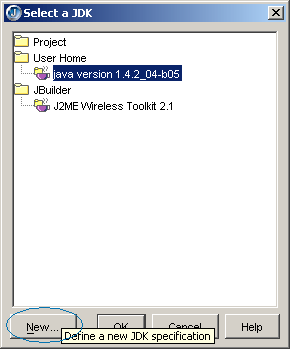
From the Projects menu, choose "Default Project Properties ...". We will now update the JDK. Chose the "..." found in the right of JDK.
Click the New button
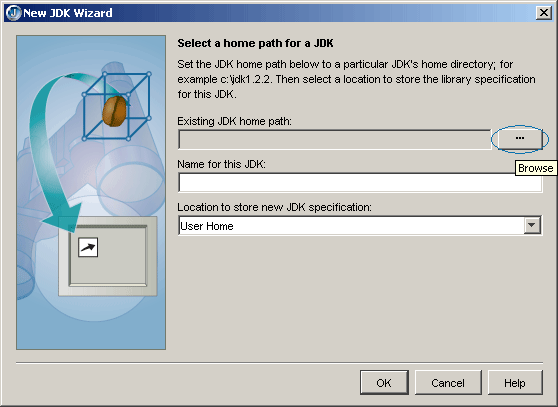
Click the "..." button to browse for the new JDK (the one we previously installed)
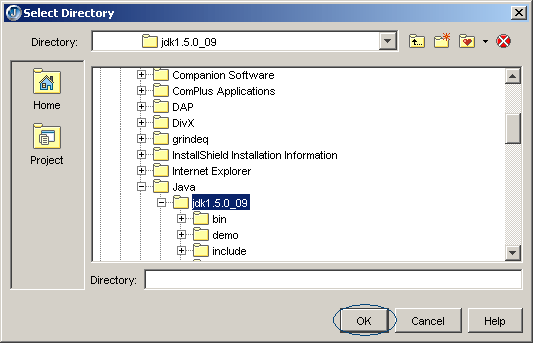
Go to the installation folder and selected it. It should be under "c:\Program Files\Java". Then click OK.
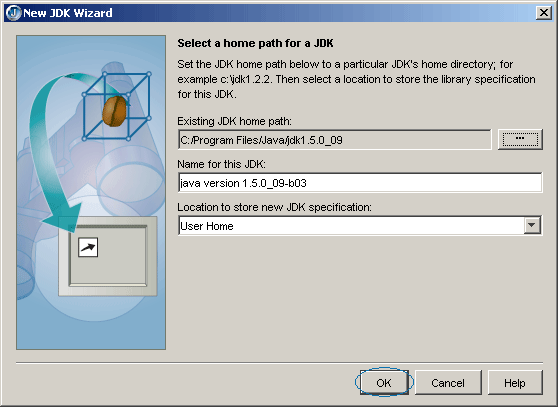
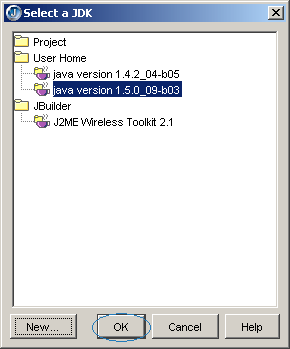
The new Java version should be now displayed in JDK box. Click OK.
The new Java JDK should be now in the JDK list as well. Make sure it is selected, then click OK.
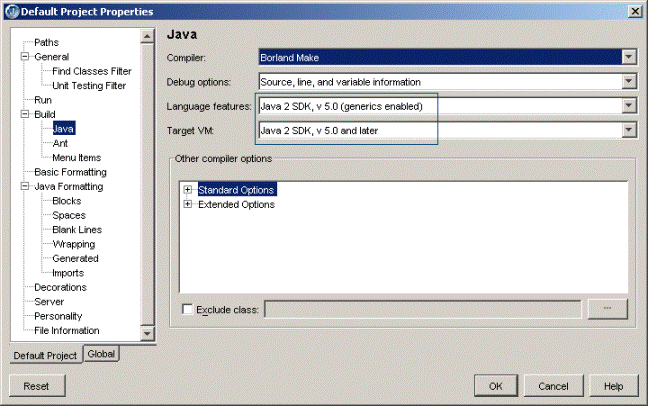
Next, we will instruct JBuilder to actually use the new features present in JDK 1.5, features needed to run MADS. Go to the Build->Java tab and select v5.0 for both Language Features and Target VM.
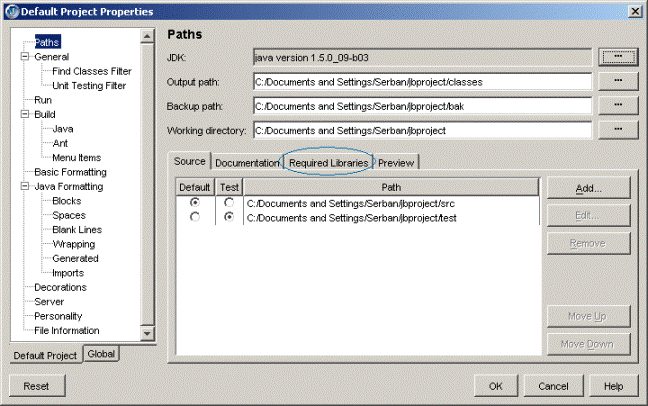
Now that the Java SDK has been updated, proceed to the libraries section by clicking the "Required Libraries" tab.
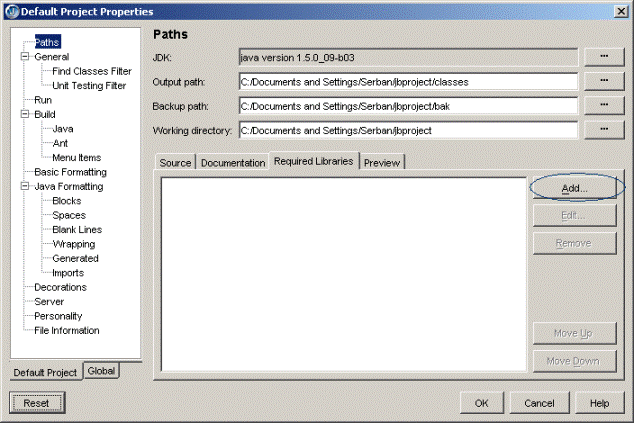
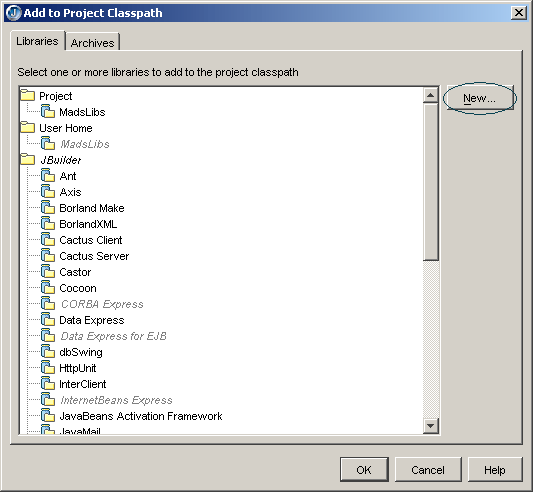
Currently, there is no library in the box. Click Add...
A list of library is shown. Click the "New..." button to add a new one.
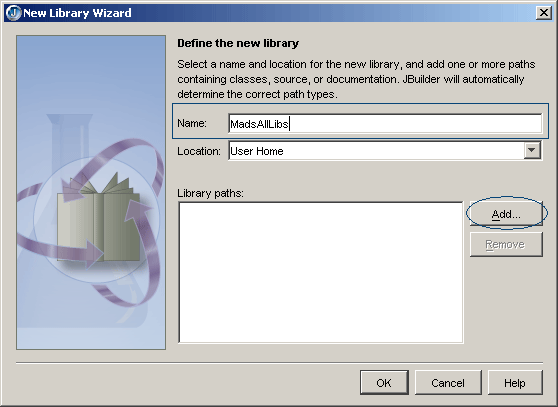
Fill the text box with "MadsAllLibs" and press Add.
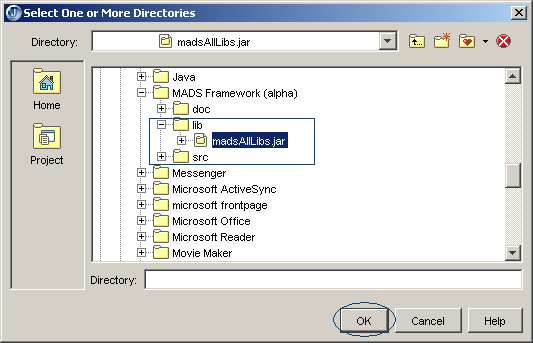
Select the MadsAllLibs.jar found in the MADS library folder (default folder is C:\Program Files\MADS Framework (alpha)\lib) then click OK.
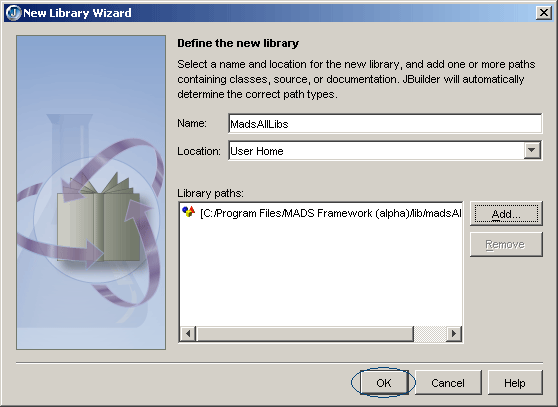
The library path should now be present in the list box. Click OK.
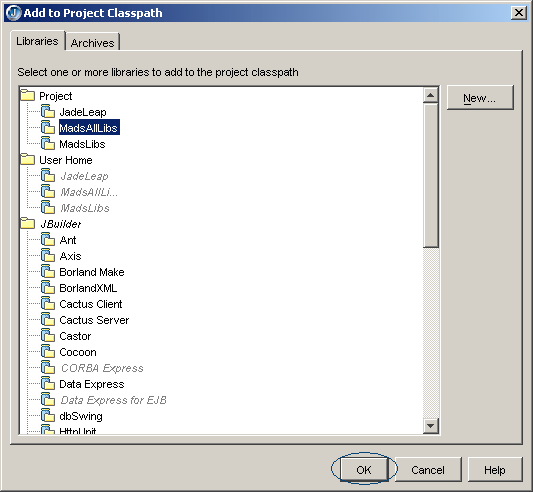
The newly created MadsAllLibs library should now be present in the library list. Make sure it is selected, and click OK.
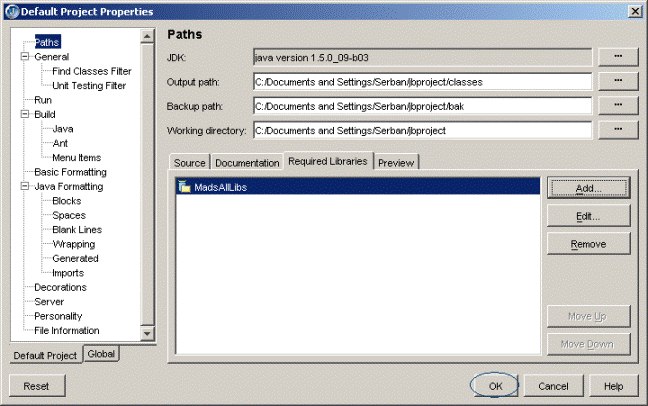
The newly created MadsAllLibs should now be present in the Required Libraries list box. Click OK to close.
There is one more setting that needs to be made. If you previously installed JDK 1.5.x, an error might be generated when you try to start the SAGS agent server because JBuilder's original JDK 1.4 has overwritten the registry records and the system now thinks that JDK 1.4 is installed. We will fix that by downloading and executing this script which will correct the settings. After executing the script, a confirmation message like in the image below shoud appear. Choose Yes.

Now acknowledge the changes by clicking OK.

Finaly, close Jbuilder. This is necessary so that the settings take effect.


